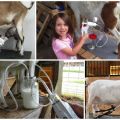
How to properly assemble a milking machine for cows with your own hands
Farmers and private owners are thinking about creating milking equipment with their own hands, on their own. And this idea can be realized. The choice of design is for the future owner. Ready-made solutions are offered below, you just need to give preference to the most successful ones. If necessary, they are easy to modify, adapt to your own needs. Therefore, we prepare the tool, equipment and start designing the unit.
Design is the most important assembly process
The creation of a milking machine for 3-4 cows is not a luxury and a fix idea, but a conscious necessity. Before you start designing your own milking machine, it makes sense to pay attention to ready-made amateur designs or industrial designs. For example, such as in this video:
Every detail, design nuance should be taken into account. Otherwise, instead of a working device, you will get an unfinished, unfinished device. The main parts are best bought ready-made, without trying to make yourself.
This will save assembly time and also increase the chances of getting a fully operational, truly useful unit. Which will help facilitate work on the farm, increase productivity.
Component Selection Tips
Before proceeding with the direct implementation of the idea, it is imperative to study any available information, data regarding factory products. It is necessary to understand the principle of operation of the apparatus, so it will turn out to most fully implement the idea in metal. It is better to take transparent milk hoses, so it is clearly visible whether the milking machine is working or not.
It doesn't hurt to walk around the manufacturers' websites. Sometimes the most detailed technical characteristics are placed there, even the diagrams of the devices. Pay particular attention to the pump and motor.
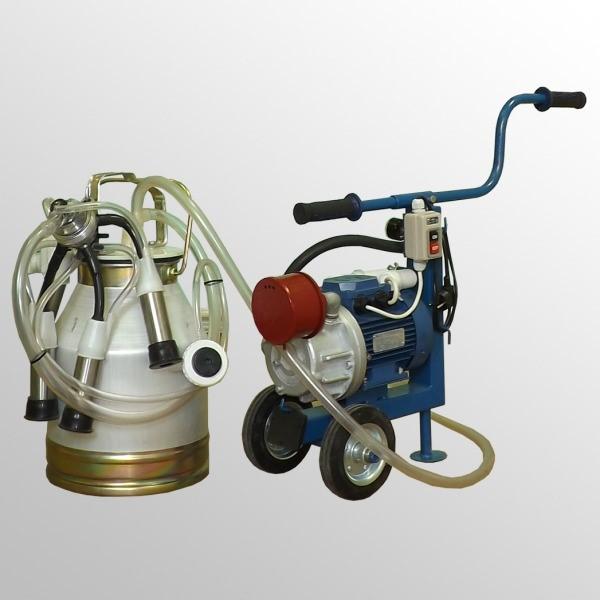
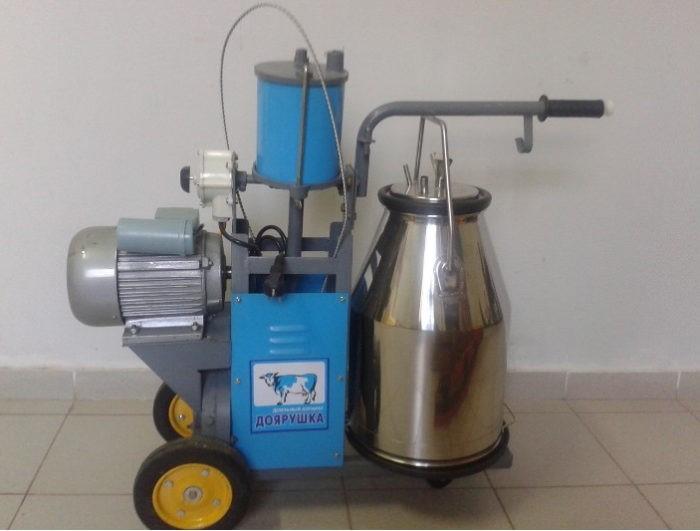
For ease of movement of the device, it can be mounted on a cart. This is how industrial samples of milking machines "Doyarushka", "Milk Farm" and others are organized. It is best to choose wide wheels, this will provide the required mobility.
One of the examples of successful implementation is shown in the video:
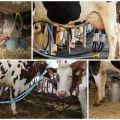
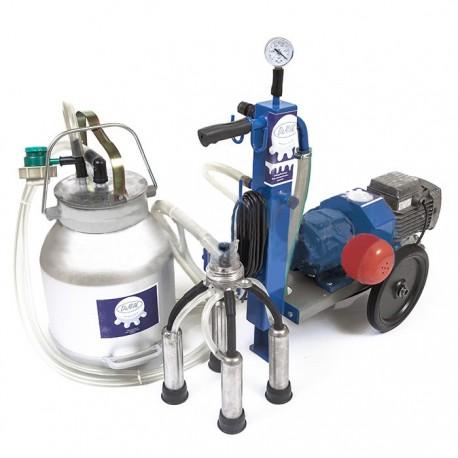
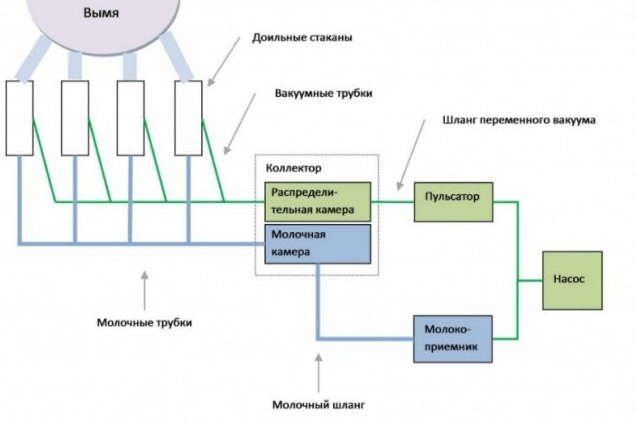
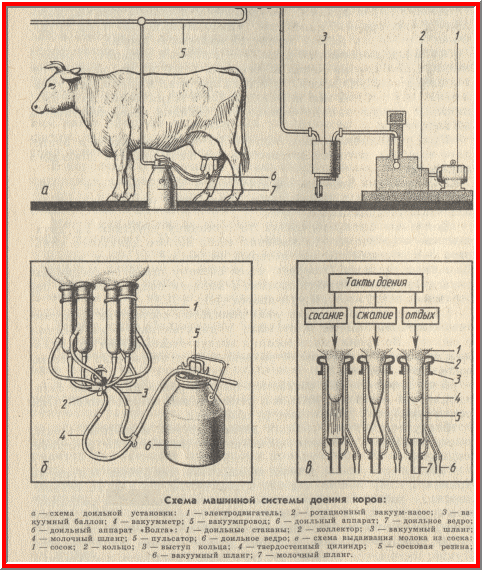
The milking machine consists of several main units and parts:
- Engine.
- Pump.
- Hoses.
- Balloon.
- Exhaust pipe.
- Pressure (vacuum) indicator.
- Suspended part.
Each element is important, you cannot do without it. It is necessary to provide an insulating insert to prevent electric shock. The indicator should be rated for a pressure of 50 Kilopascals.Next, we will consider each detail, its design and principle of operation.
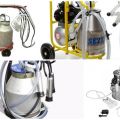
Pump and motor selection
These are the 2 main units that form the backbone of the apparatus. The engine drives all components of the milking machine. And the pump is the part that is responsible for pumping milk. The motor is selected only electric. This choice is justified by efficiency, reliability, low noise level.
The second component, the pump, must create sufficient vacuum, vacuum. It can be dry or oil in design, piston. The dry model seems to be more durable: it does not require careful maintenance and is unpretentious. But it is distinguished by an increased level of noise, which can frighten animals.
The "wet" oil pump is good, but it needs to be constantly engaged. The oil is changed once a year. Its level is periodically measured. Make sure that the rubbing parts (piston, chamber, connecting rod) are covered with an oil film.

Neither the motor nor the pump should be manufactured by yourself. There is a high probability of error, moreover, these components are too important in the operation of the unit. Better to take ready-made. The engine power must provide sufficient capacity of the unit, and the pump must provide sufficient vacuum for pumping milk.
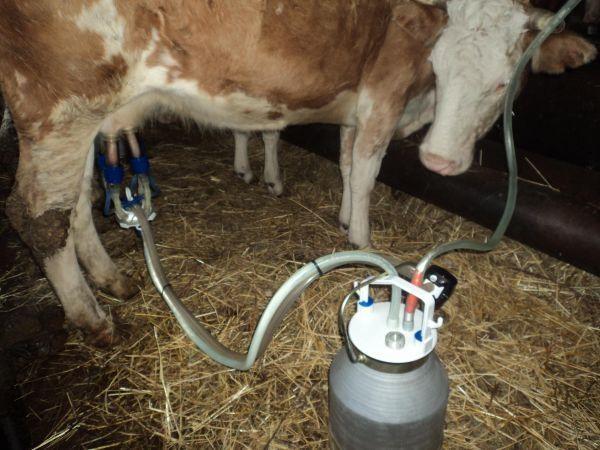
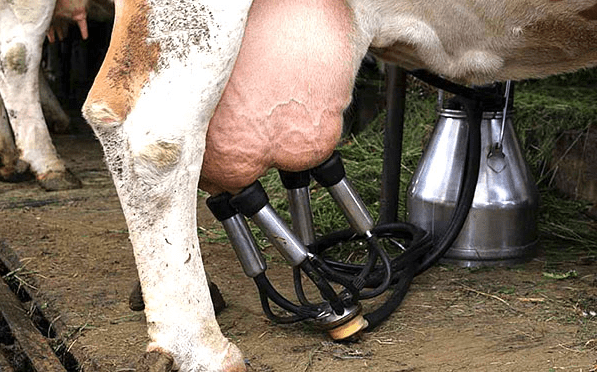
Hanging node
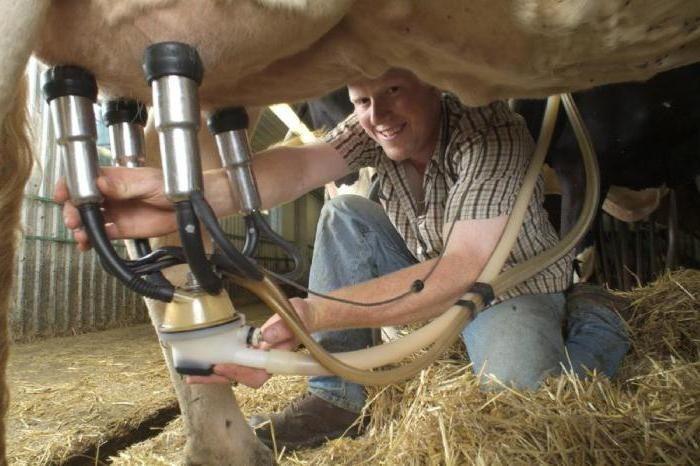
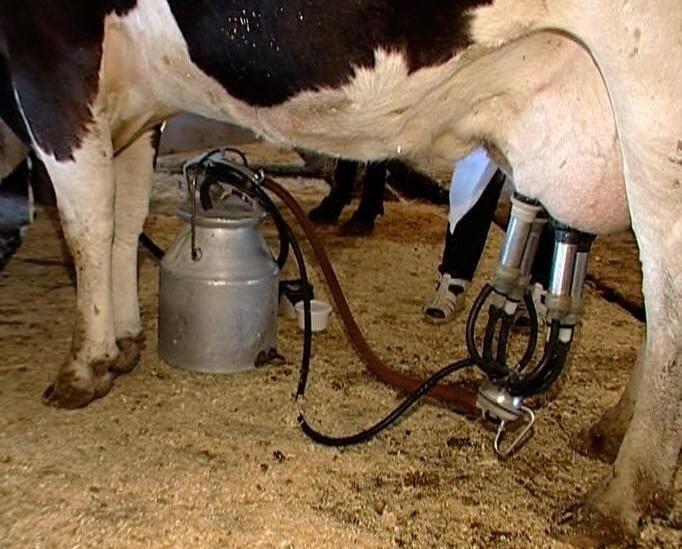
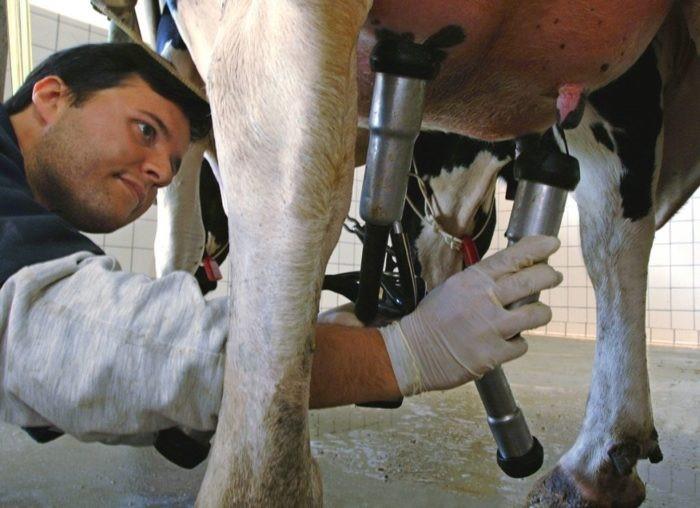
The structure of the suspension unit of the apparatus consists of a pulsator, glasses and a collector. The device is assembled and disassembled every month. A glass is a metal cylinder with a rubber cuff inside. To prevent the metal from contacting the delicate skin of the udder, a special silicone rim is put on the top of the glass.
Selection of pulsators and collectors
The pulsator is designed to create dosed portions of vacuum so that milk is pumped. A rhythm of 64 beats per minute is considered appropriate: this is close to the natural process of feeding a calf for a cow.
A collector is a special unit that collects milk from glasses and then transfers it to a bucket or tank. It is also purchased ready-made. An attempt to reduce costs, collect these nodes with your own hands is fraught with serious miscalculations.
In addition, an independent design is not devoid of shortcomings and miscalculations. It can also lead to injury to animals, serious illness.
What tools and materials are needed?
In addition to the basic components (engine, pump, manifold, pulsator and teat cups), some more components will be needed. It:
- Milk can or bucket.
- Main air hose. Needed for air supply.
- Vacuum regulator. Required to create a metered pressure. Too much will lead to discomfort, too little will not allow you to achieve normal performance.
- Belt for transferring torque from the motor to the pump.
- A tap for air access to the milk container.
- Silicone transfer hoses.
An example of the construction of a homemade device is shown in the video:
From the tools you will need a screwdriver, a set of keys, a sharp knife. If the cart is going to be assembled on its own, then you will need metal-cutting equipment (grinder, hacksaw for metal). It still does not hurt to prepare a drill, hardware. It is better when assembling the device to limit yourself to a minimum of operations, to quickly get a ready-made, efficient unit in the shortest possible time.
Assembling the apparatus
If desired, the vacuum pump is not difficult to assemble from a household vacuum cleaner. It builds up enough pressure to pump milk. An example of how to do this is shown in the video:
If the option with a mobile design is chosen, the engine and pump are first attached to the cart. For this, ready-made brackets, hardware are used. It is advisable to think over the assembly scheme in advance to avoid possible mistakes. There are a number of nuances in the installation. Firstly, it is the reliability of the fastening. Secondly, the electric motor and the vacuum pump are connected by a belt drive.
That is, these 2 units must be located so that the belt is in a taut state, remains dry, clean of oil and dirt. It will not hurt to provide the engine with protection to prevent it from getting debris, liquid.
Carrying handles with hose hooks are a useful accessory. The main thing is that the device is comfortable to use. The vacuum tubes are connected to the pump, then a vacuum gauge and a vacuum regulator are mounted. It remains to connect a hose, a pulsator and connect these units to the lid of a pre-selected can.
The length of the pipes should not be minimal, it is recommended to choose about 2 meters for the line. The apparatus is tested before starting. The pulsator must provide the set number of strokes, the pump must create a vacuum, and the complete unit must pump milk.
Rules for working with a homemade device
Preparation for work, the process itself regarding a self-made installation is similar to the rules for handling a factory milking machine. First, the engine is connected to a 220 V network. While the milking machine is checked without a cow: in the event of a malfunction, breakdown, the animal may be injured or electrocuted.
If a button or a switch is provided in the design of the milking machine, then they are activated. Listen carefully to the sound of the engine: no noise, clanking is allowed. Low hum or vibration indicates that the equipment is not properly secured. Once again, tighten all connections.
A knock on the pump indicates a lack of lubrication. A hissing sound occurs when the lid on the can is not tight. When the performance of the milking machine has been checked, before attaching the cups to the udder, you should wait a period of 5 minutes: this will create the required vacuum in the system. The pressure is controlled by a control device (vacuum regulator).
It is helpful to lightly massage the udder to calm the cow and set her up for the process. Then they put on glasses, start pumping. At the first signs of a malfunction, the milking machine is turned off, checked, and the causes are searched.
Milking Cluster Care
The installation requires periodic maintenance. It includes lubrication, cleaning, checking the condition (if necessary, replacing damaged) hoses. You should also monitor the drive belt, keep it taut, clean. If there are extraneous sounds in operation, the device should be turned off immediately.
Electrical wires, connections must be insulated. Complete disassembly of the milking equipment, pump inspection and oil level control are periodically carried out (complete replacement - once a year).
Rubber inserts, cuffs are checked for integrity. Disassembly is carried out carefully so as not to damage parts of the apparatus. With regular, careful maintenance, a homemade installation will last no less than a factory one.